
Food styling tips for restaurant photos: plate the dish you serve
RestoPhoto Team · October 25, 2026 · 6 min read
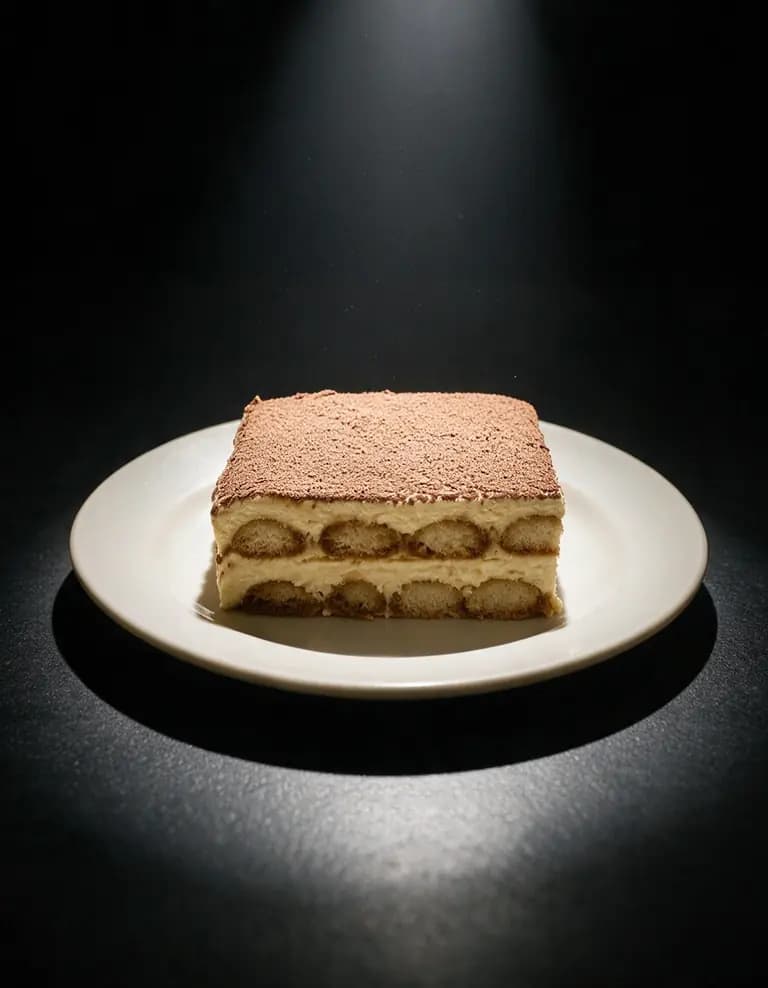
Style the plate you serve to guests, not a special version for the camera. Choose a plate that leaves a clean ring around the food. Build height in the center and wipe the rim. Put the sauce where the camera can see it, and add only garnish that belongs to the dish. Turn the best side toward the lens and take the photo in the first two minutes after plating.
Plating also changes how people judge the taste. In a 2011 study in the journal Appetite, people liked neatly arranged food more than the same food served messily. In a third experiment of that study, they said they would pay more for the neat plates. They also believed that more care went into them.
A 2014 study ran in a real restaurant. Diners got the same chicken dish on two nights, arranged in two different ways. They liked the chicken and the sauce significantly more in the more attractive arrangement.
Zellner and colleagues (2014), Appetite: It tastes as good as it looks!
Start with the portion you serve
A guest who sees your dish on Instagram gets the real plate at the table. Style that plate with the normal portion, sides and garnish. Do not add extra shrimp, a second scoop or more cheese for the photo. The guest sees the difference the moment the order arrives.
Choose the plate
- Leave a ring of empty plate around the food. A plate that is too big makes the portion look small. On a small plate, the food looks crowded.
- Use plain white or one solid color for most dishes. A busy pattern competes with the food.
- Match the plate to the dish. Use a shallow bowl for pasta and chili and a flat plate for steak and fish. Serve mac and cheese in its skillet if guests get it that way.
- Look at the rim before you plate. Chips and scratches show clearly in a photo.
Build height and leave space
Food that lies flat looks smaller in a photo. Give the plate one high point, usually in the center. Lean a steak against the mashed potatoes. Short ribs can go two high. For pasta, twist a nest with a fork and a spoon. Keep the main item in front, closest to the camera, and the sides behind it.
The arrangement alone can change the verdict. Charles Michel and colleagues served one salad in three different arrangements. Participants rated the version arranged like a Kandinsky painting as tastier. They were also willing to pay more for it.
Michel and colleagues (2014), Flavour: A taste of Kandinsky
- Group small items in odd numbers, such as three scallops or five wings. Odd groups look less stiff than even rows.
- Leave some space between the groups, so each piece keeps its shape.
- Cut layered food cleanly and show the side: a slice of lasagna or cheesecake, a burger cut in half.
- Shoot tall food, like burgers and layered desserts, from a low angle. From directly above, a burger turns into a flat circle.
Sauce, garnish and texture
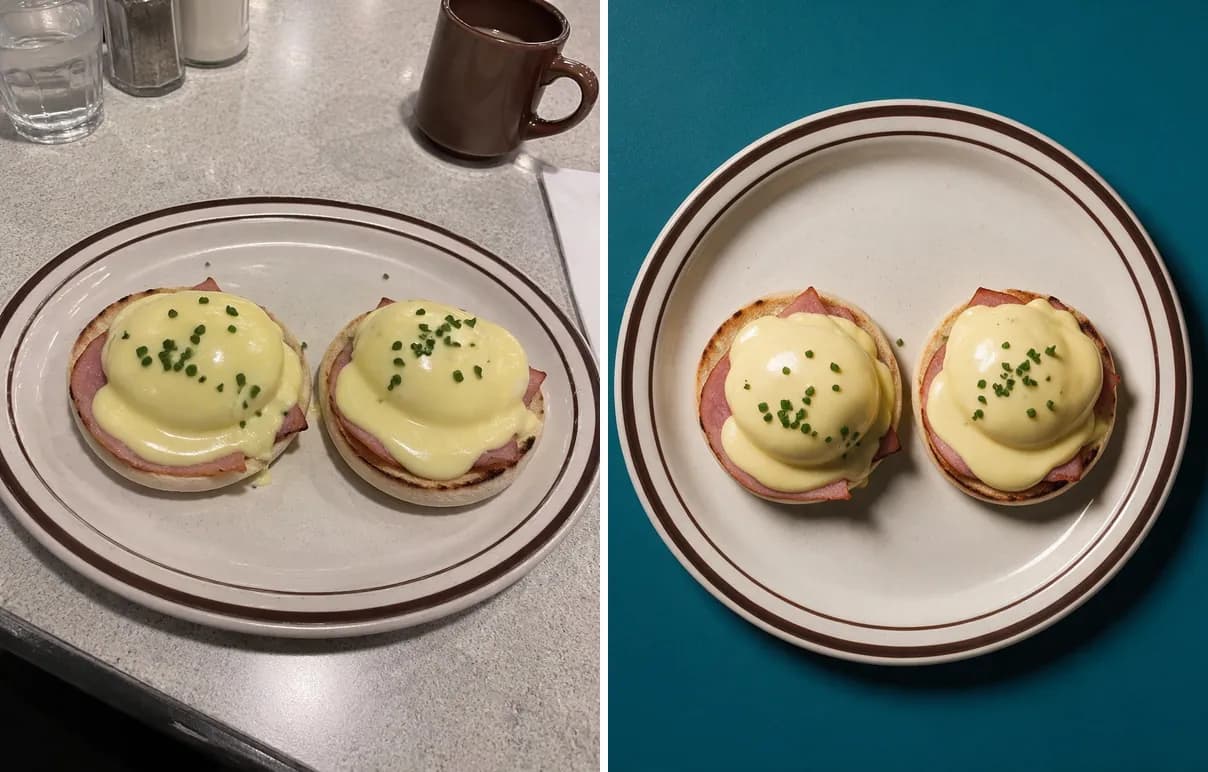
- Put the sauce under the main item or in a neat pool beside it. Sauce on top hides the sear.
- Wipe drips and fingerprints off the rim with a damp paper towel, then with a dry one.
- Garnish with something from the recipe: chives on eggs Benedict, parsley on potatoes, lime with fish tacos.
- Add fresh herbs last, right before the photo. On hot food they wilt fast.
- Brush dry surfaces lightly with the dish's own sauce or a little oil. Use as much as the kitchen uses in service.
- Show the filling when it sells the dish. Break open a dumpling or lift a slice of pie.
Take the photo in the first two minutes
Hot food changes quickly. Cheese sets and fries go limp. Prepare the set before the kitchen plates the dish.
- Clear a table near a window and choose the angle before you order the plate.
- Shoot burgers and layered desserts low, most plates at 45 degrees and flat dishes like pizza from above.
- Ask the kitchen to plate the dish exactly as for a guest.
- Wipe the rim, add the herbs and turn the best side toward the camera.
- Take several frames and check them at full size before the plate goes back.
Camera settings for the same shoot: iPhone food photography for restaurant owners
Props: three at most
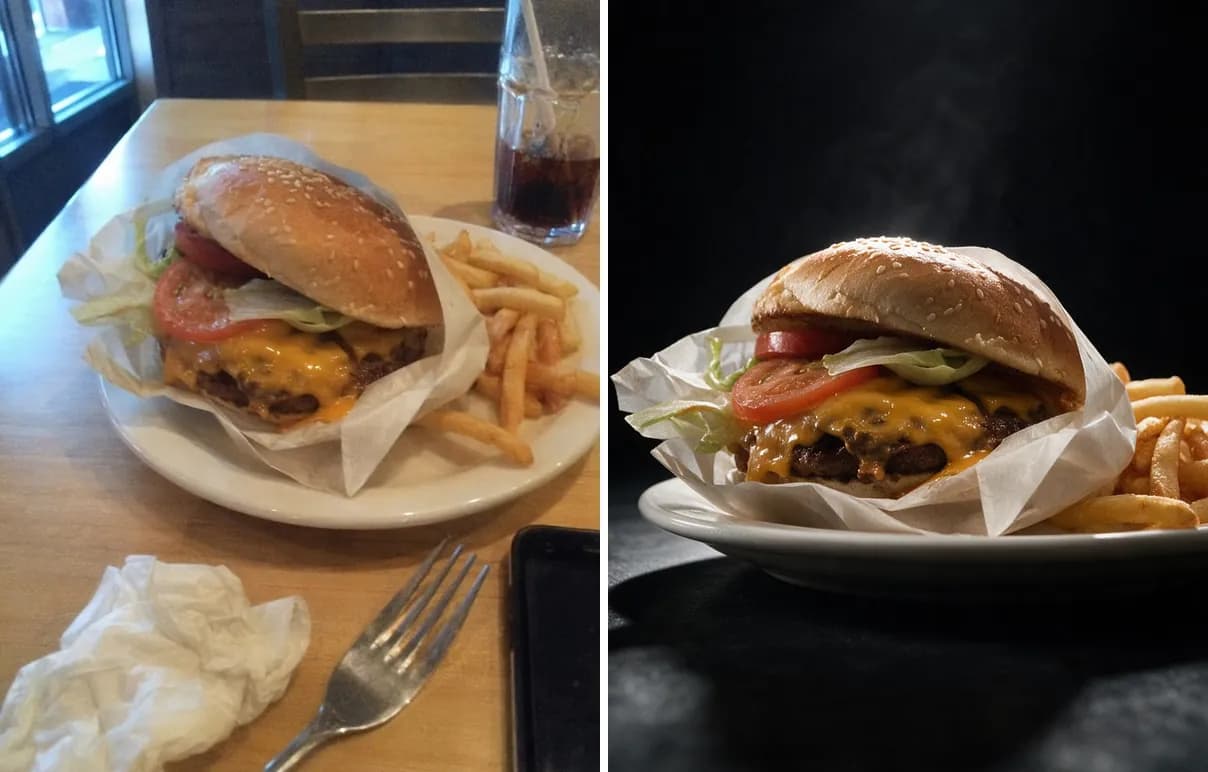
Props show the size of the dish and where you serve it. Too many of them pull the eye away from the food. Use three at most: cutlery, a napkin and one raw ingredient from the recipe. Take squeeze bottles, phones, receipts and used napkins out of the frame.
What to leave out
- Anything the kitchen does not serve. No glue, paint or inedible fillers.
- A bigger portion or extra toppings only for the photo.
- An overhead shot of a tall dish.
- A heavy filter over a messy plate. Fix the plate first, then the photo.
From the styled plate to a finished photo
Only your kitchen can style the plate. Take one phone photo of it and upload the photo to RestoPhoto. The app sets the light, the backdrop and the framing for your social media posts. A finished photo takes 1 to 3 minutes, in the browser or in the iOS and Android app.
The dish stays yours. What changes is the light, the backdrop and the framing. AI can still change small details of a dish, and some styles add props around the plate, so compare the result with your original before you publish.
Try it on one of your own dishes. Your first photo is free, no card.
Try RestoPhoto on one of your styled plates
Before you post, run the photo through the free Food Photo Checker. It checks blur, exposure, color cast, flat light and resolution in your browser.
FAQ
What is food styling in a restaurant?
Food styling means arranging a dish so it looks its best on camera. In a restaurant, it starts from the portion you serve: the plate, the height, a clean rim, the sauce, the garnish and the timing.
What are the best food styling tips for beginners?
Use a plain plate, build one high point, wipe the rim and add fresh herbs last. Clear the frame and take the photo in the first two minutes after plating.
How do I plate food so it looks good in photos?
Put the main item in front and the sides behind it. Leave a ring of empty plate around the food. Keep the sauce under or beside the main item, not over it.
Which props should I use in food photos?
Use three at most: cutlery, a napkin and one raw ingredient from the recipe. Keep them at the edge of the frame, so the dish stays the subject.
Are food styling tricks okay for restaurant photos?
Use real food in the real portion. The guest who orders from the photo gets the plate, not the photo.
Try RestoPhoto with your own photo
Upload a dish photo and choose a style. Compare the result with the original before publishing.
Try RestoPhoto