
iPhone food photography settings: a guide for restaurant owners
RestoPhoto Team · October 19, 2026 · 6 min read
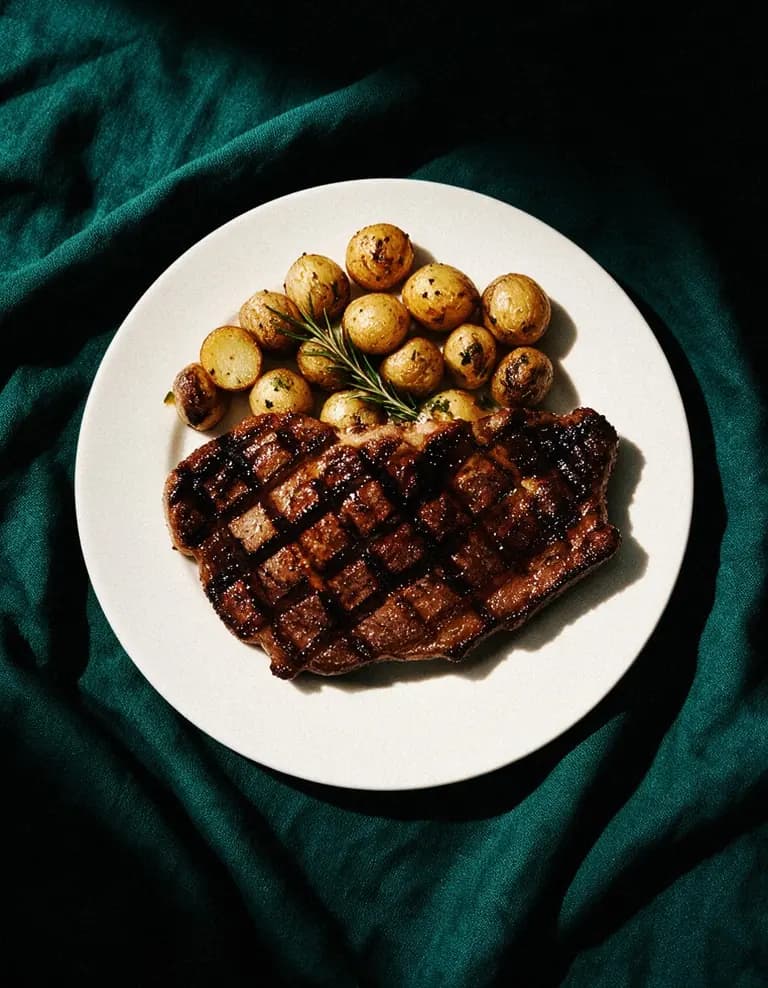
The short answer: clean the lens, turn off the flash, and shoot near a window with the light coming from the side. Use the 1x or 2x lens, not the 0.5x ultra wide. Tap the dish to focus, drag the exposure down slightly so highlights don't blow out, and hold still. Shoot at 45 degrees for most plates, overhead for flat dishes and low for burgers and drinks. Take several frames and pick the sharpest.
This guide is written for people who run restaurants, not photographers. It assumes you have ten minutes between tickets, one phone and no extra gear. The same steps work on Android phones like the Samsung Galaxy; the setting names differ a little.
General guide: how to photograph food with any phone at a restaurant
Set up your phone once
These take two minutes and you only do them once.
- Turn on the grid. On iPhone: Settings, Camera, Grid. It helps you keep the plate level and centered. On most Android phones it's in the camera app's settings.
- Check your default photo format. For menu photos, the standard setting is fine. You don't need RAW formats unless you already edit in them.
- Turn off Live Photos for menu shoots, if you don't need them. You only want the still frame.
- Clean the lens. Phones live in aprons and pockets. A greasy lens gives soft, hazy photos that no amount of editing fixes. Wipe it with a soft cloth before every session.
Choose the right lens
Modern iPhones have several lenses, shown as 0.5x, 1x, 2x and sometimes more.
- Avoid 0.5x (ultra wide) for food. It bends straight lines and makes plates near the edge of the frame look stretched.
- Use 1x for overhead shots and table spreads.
- Try 2x (or 3x) for single plates at an angle. A slightly longer lens flattens perspective, so a burger or a bowl looks more like it does to your eye. Step back to fit the plate.
Portrait mode: use it carefully
Portrait mode blurs the background, which can look good on a single dish shot at an angle. It can also blur the edges of the food itself, especially with tall garnishes, steam or glassware. If you use it, zoom in afterward and check the edges of the dish. For delivery menus and anything overhead, the regular Photo mode is safer.
Light: the part that matters most
Your phone's camera is good. Your light is usually the problem.
- Flash off, always. It flattens texture and puts hard glare on sauces.
- Use a window. Put the plate on a table near a window, with the light coming from the side or slightly behind the dish. Side light shows texture: the crust on a steak, the bubbles in cheese.
- Avoid direct midday sun. If sunlight lands on the table in hard patches, move the plate out of it or tape a sheet of baking paper over the glass to soften it.
- Fill the shadows if needed. A white menu card or a sheet of printer paper held opposite the window bounces light into dark areas.
- Turn off mixed light. A warm bulb above plus a cool window on the side gives patchy color. If you can switch off the overhead lights for a minute, do.
No window? Use the most even light in the room and avoid standing between the light and the plate. Kitchen light and a slight color cast are fine as a starting point.
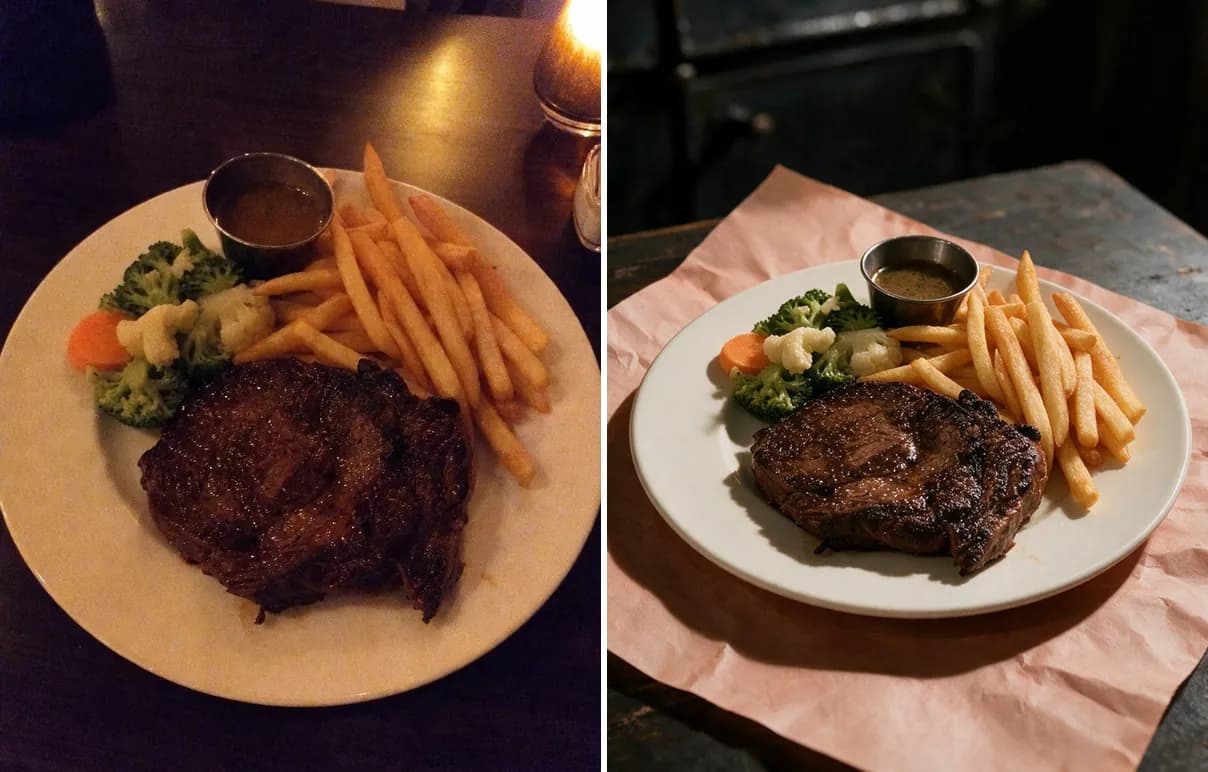
Focus and exposure in two taps
- Tap the dish where you want it sharpest, usually the front edge of the main item.
- Press and hold to lock focus and exposure (AE/AF Lock on iPhone), so the phone doesn't refocus when you move slightly.
- Drag the sun icon down a touch. Phones tend to brighten food until white plates and sauces lose detail. Slightly darker is easier to fix than blown-out white.
- Hold still. Rest your elbows on the table or the back of a chair. Motion blur cannot be recovered in editing.
Pick the angle for the dish
- 45 degrees (roughly how a seated guest sees the plate): steaks, pasta, most entrees, desserts on a plate.
- Overhead: pizza, salads, bowls, flatbreads, anything flat or anything where the arrangement is the point.
- Low, near table height: burgers, sandwiches, stacked pancakes, tall desserts and drinks, where height and layers sell the dish.
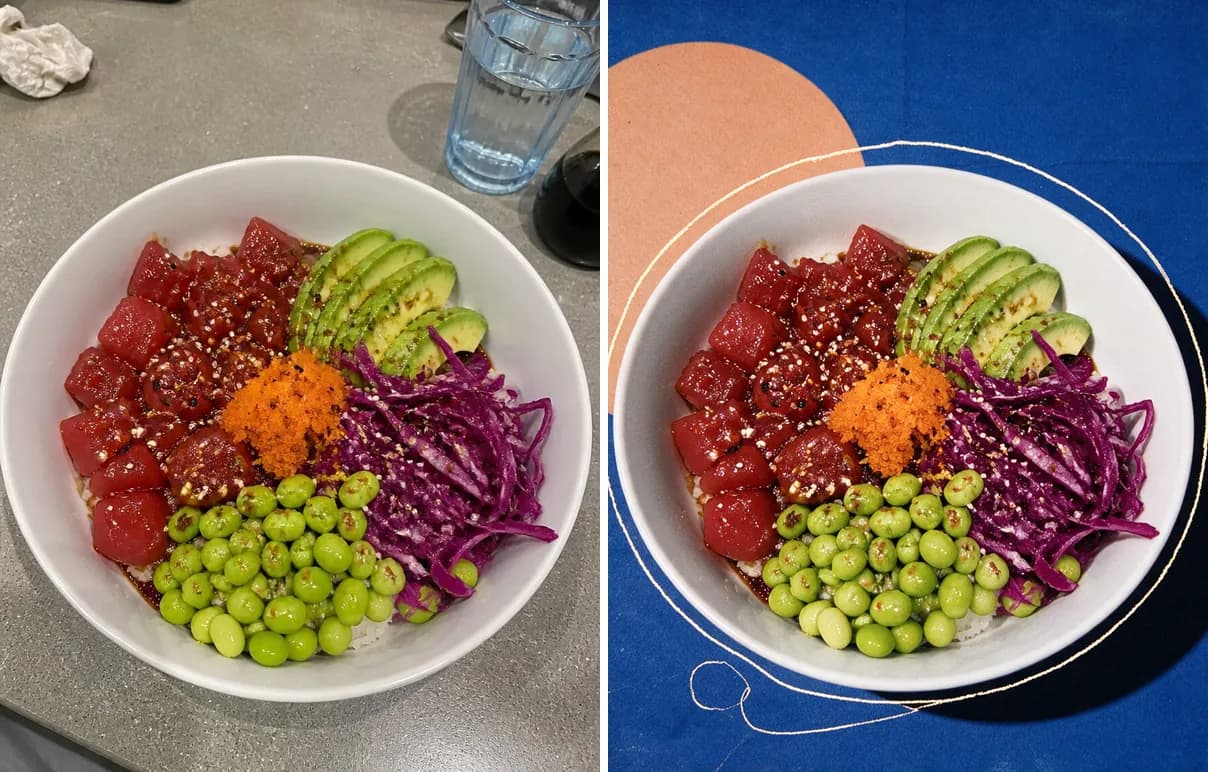
Plate for the camera, but honestly
- Plate the real portion you serve.
- Wipe the rim of the plate with a paper towel.
- Put the best side of the dish toward the phone: the seared side of the protein, the neatest part of the garnish.
- Remove clutter: squeeze bottles, ticket slips, cutlery you don't need.
- Shoot within a minute or two of plating. Melted cheese sets, herbs wilt, fries go limp.
A 10-minute routine for a busy service
Pick a quiet window, often right before lunch or dinner service.
- Minute 0 to 2: set up a table near the window, clear it, wipe the lens.
- Minute 2 to 3: ask the kitchen for one plate, plated as normal.
- Minute 3 to 5: take 5 to 10 frames at your chosen angle, moving slightly between shots. Try one wider frame with space around the plate for cropping.
- Minute 5 to 6: zoom in on your best two frames and check focus on the food itself.
- Minute 6 to 10: repeat with a second dish, or send the first plate back to be served as staff meal.
Two dishes a day for three weeks covers most menus without taking over the kitchen.
Editing on the phone
The built-in Photos editor is enough for most menu photos.
- Straighten the horizon or table edge using the grid.
- Crop for where the photo is going: square or 4:5 for Instagram, 4:3 for Grubhub, wide 16:9 for DoorDash.
- Warmth: if the white plate looks yellow or blue, adjust warmth until it looks white.
- Exposure and highlights: lift exposure slightly if the photo is dark, pull highlights down if bright areas lost detail.
- Saturation, lightly. Research by Stephanie Liu and colleagues at Ohio State University (2022) found that higher color saturation makes food look fresher and tastier and raises purchase intent. That's not a license to turn tomatoes neon. A small push, checked against the real dish, is enough.
When the phone photo is "good enough" but not great
Most owners get to a point where the photo is sharp and honest but still looks like it was taken in a restaurant at 4 p.m. The last step, studio-style light and a clean backdrop, is where a professional shoot or a tool comes in.
RestoPhoto starts from exactly this kind of phone photo. The AI sets the light, the background and the framing, and a finished photo takes about two minutes. It works on any modern phone, including iPhone and Samsung Galaxy, through the App Store, Google Play or the browser. What it needs from you is what this guide covers: the whole dish in the frame, in focus, one dish at a time. Kitchen light, a regular table and a slight color cast are fine.
The dish stays yours. What changes is the light, the backdrop and the framing. AI can still change small details of a dish, and some styles add props around the plate, so compare the result with your original before you publish.
Try it on one of your own dishes. Your first photo is free, no card.
Try RestoPhoto on one of your own dishes
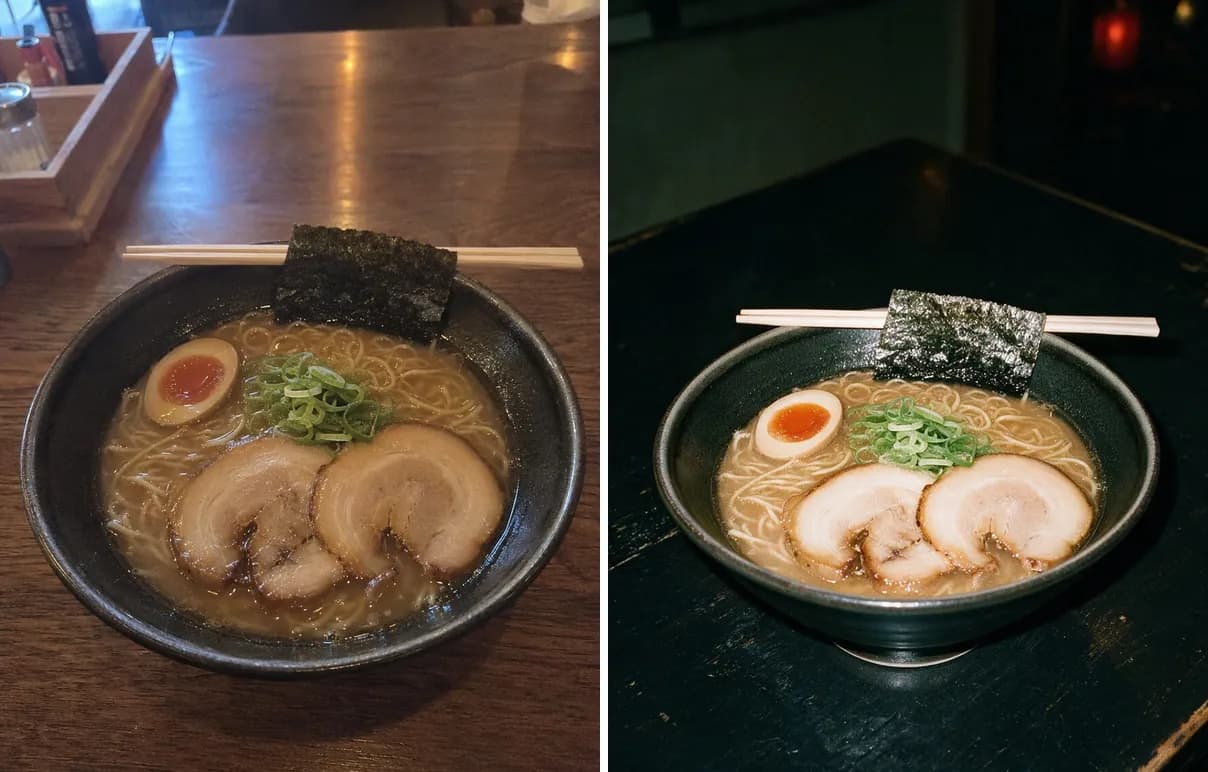
Not sure a shot is good enough? Run it through our free Food Photo Checker before you upload. It flags blur, dark exposure, glare, color casts and low resolution, with the fix for each.
Free tool: check a food photo before you post it
FAQ
What are the best iPhone camera settings for food photography?
Flash off, grid on, 1x or 2x lens, regular Photo mode. Tap to focus on the dish, press and hold to lock focus and exposure, then drag exposure down slightly to protect bright areas.
Should I use Portrait mode for food photos?
Sometimes. It can look good for a single plate at an angle, but it can blur the edges of the food. Check the edges closely, and use regular Photo mode for overhead and delivery app photos.
Why do my restaurant food photos look yellow?
Warm indoor bulbs. Shoot near a window, switch off overhead lights if you can, and adjust warmth in the editor until a white plate looks white.
Do I need a tripod or extra lights?
Not to start. A window, a white card to bounce light and steady elbows cover most menu photos. A small tripod helps if you shoot a lot of overhead photos.
Does this work on Android phones?
Yes. Flash, grid, focus lock, exposure and lens choice exist on most modern Android phones, including Samsung Galaxy models. The menu names are slightly different.
Try RestoPhoto with your own photo
Upload a dish photo and choose a style. Compare the result with the original before publishing.
Try RestoPhoto