
How to photograph food with your phone at a restaurant
RestoPhoto Team · August 25, 2026 · 3 min read
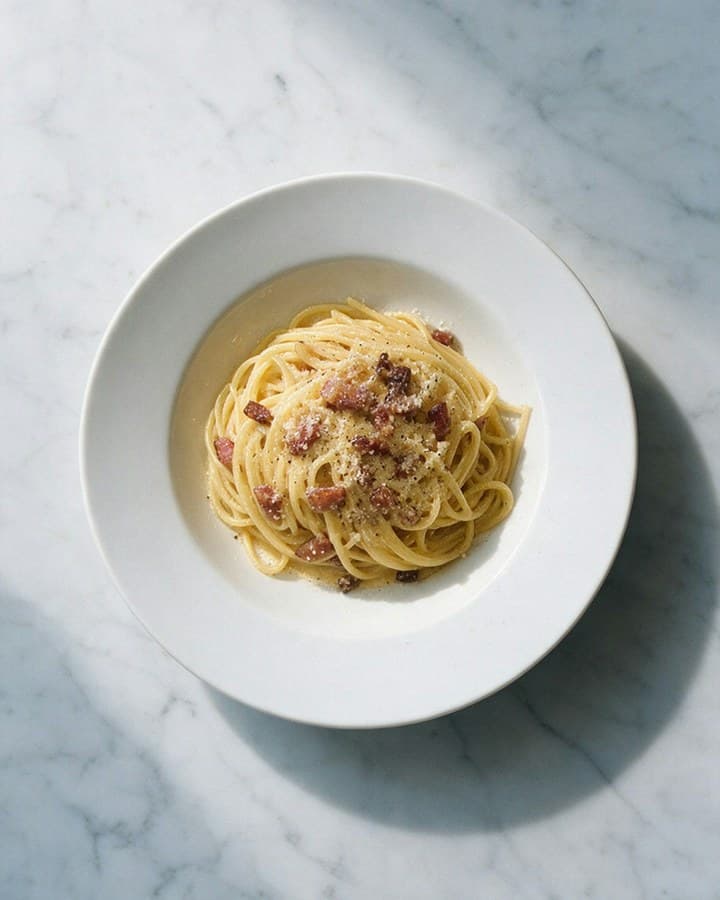
Photograph the portion your kitchen actually serves. Set up the space before the food arrives, then take a few frames from different heights. You need a sharp, readable picture of the dish before you start thinking about a particular editing style.
Get the plate ready while the food is fresh
Clear unrelated items from the table and wipe the rim of the plate. Keep the normal serving size and garnish. If you add ingredients for the photo that guests will not receive, the picture no longer represents the order. Have your phone ready so the dish is not waiting while you arrange the background.
Test the light before shooting the whole menu
Start beside a window with soft daylight reaching the plate from one side. Look at the shadows and the texture of the food. Move out of direct sun if it creates harsh patches; a sheet of white card on the darker side can bounce some light back.
Check a white plate on the screen. A strong yellow cast is a reason to look at the lighting and white balance, not to turn up the saturation. If a nearby warm lamp is mixing with daylight, try a frame without it where practical. Compare the actual food with the photo.
Let the shape of the dish guide the angle
- For pizza or a flat arrangement, try a view from directly above.
- For a burger or tall dessert, lower the phone until the layers are visible.
- For a deep bowl, compare an overhead view with an angled shot. The rim should not hide the contents.
The catalog preview above shows how an overhead composition makes the pizza visible across the frame. Leave space around your own plate when shooting so you have room to crop for different placements.
Check the original at full size
Clean the lens and start with the main camera without digital zoom. Move the phone to frame the plate. Tap the important part of the dish to focus, steady your arms and take several frames. Before the plate leaves, enlarge the image and check fine toppings, the plate edge and the main ingredient.
If portrait mode blurs a fork or part of the food, compare it with a shot in the regular photo mode. A decorative blur is not worth losing a detail the guest needs to see.
Compare every edit with the source
Start with crop, brightness and color. In RestoPhoto, choose a style that suits the dish and check the result against the original. A catalog preview helps you choose a composition; it does not guarantee an identical result from your image.
- Check the ingredients and the number of visible pieces.
- Compare portion size and plate proportions with the original.
- Look for mistakes around cutlery, garnishes and the plate rim.
- Preview the final crop where it will appear, including as a small thumbnail.
Make the next shoot easier to repeat
Keep a note of the plate position and camera height. Use them as a starting point for the next dish, then check the light again: clouds and the time of day change the setup. Save the original files so you can make another edit without reshooting.
Try RestoPhoto with your own photo
Upload a dish photo and choose a style. Compare the result with the original before publishing.
Try RestoPhoto