
Food Photography Angles for Restaurants: Overhead, 45 Degrees and the Hero Shot
RestoPhoto Team · November 9, 2026 · 5 min read
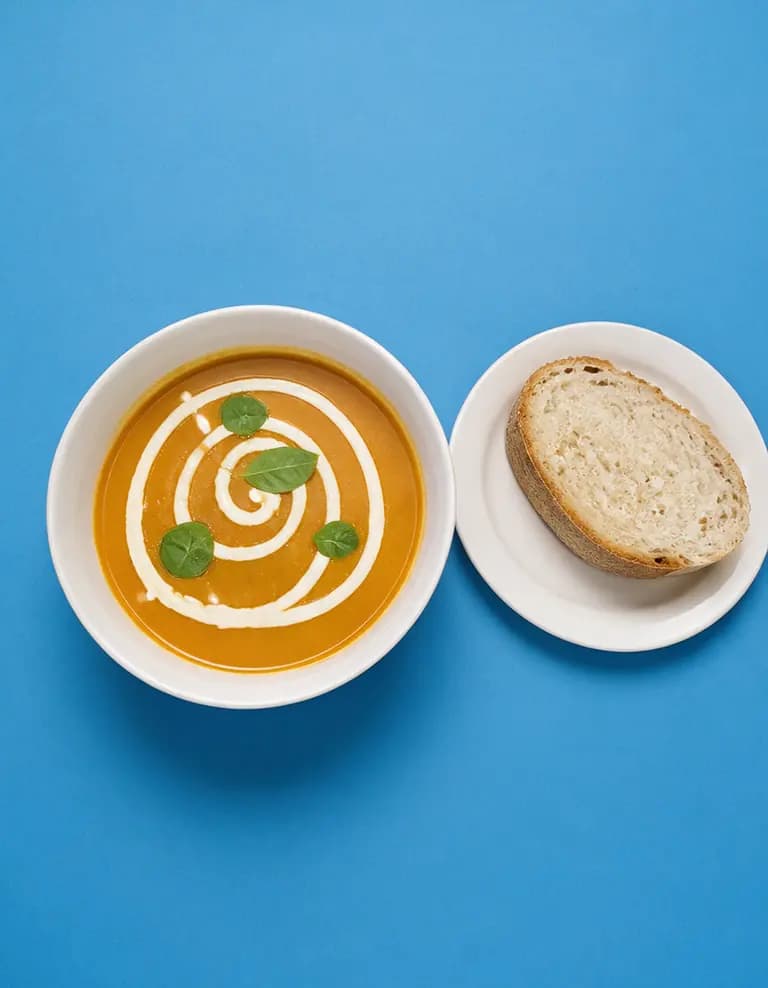
The short answer: use 45 degrees for most plated dishes, because it matches how a seated guest sees the plate. Use overhead for flat food and arrangements, like pizza, salads and bowls. Use a low hero shot, near table height, for anything tall or layered: burgers, sandwiches, stacks, drinks. Add a close-up detail or macro when texture sells the dish, like melted cheese, a glaze or a crust.
Choosing the angle is the fastest way to improve a food photo, and it costs nothing. This guide shows when to use each one, how to shoot it with a phone, and which dishes on a typical American menu fit which angle.
Why the angle matters so much
Every dish has one feature that makes people want it. For a pizza it's the whole surface. For a burger it's the stack. For crème brûlée it's the crackled top. The right angle puts that feature front and center. The wrong one hides it: a burger shot from above is a bun, and a pizza shot from the side is a crust.
A simple test: before you shoot, say out loud what makes the dish good. Then choose the angle that shows that.
Overhead (flat lay, top-down)
The camera points straight down at the table, parallel to it.
Use it for:
- Pizza and flatbreads
- Salads and grain or poke bowls
- Soups and ramen, when the toppings are the story
- Shared spreads and tables with several dishes
- Anything where the arrangement is the point
How to shoot it with a phone:
- Stand up and hold the phone directly above the plate.
- Turn on the grid and line the table edge or plate with it, so the photo doesn't look tilted.
- Watch for your own shadow. Shoot with the light coming from the side, not from behind you.
- Use the 1x lens. The ultra wide distorts the edges of the frame.
Watch out for: tall food. From above, a burger, a milkshake or a layered dessert loses all its height.
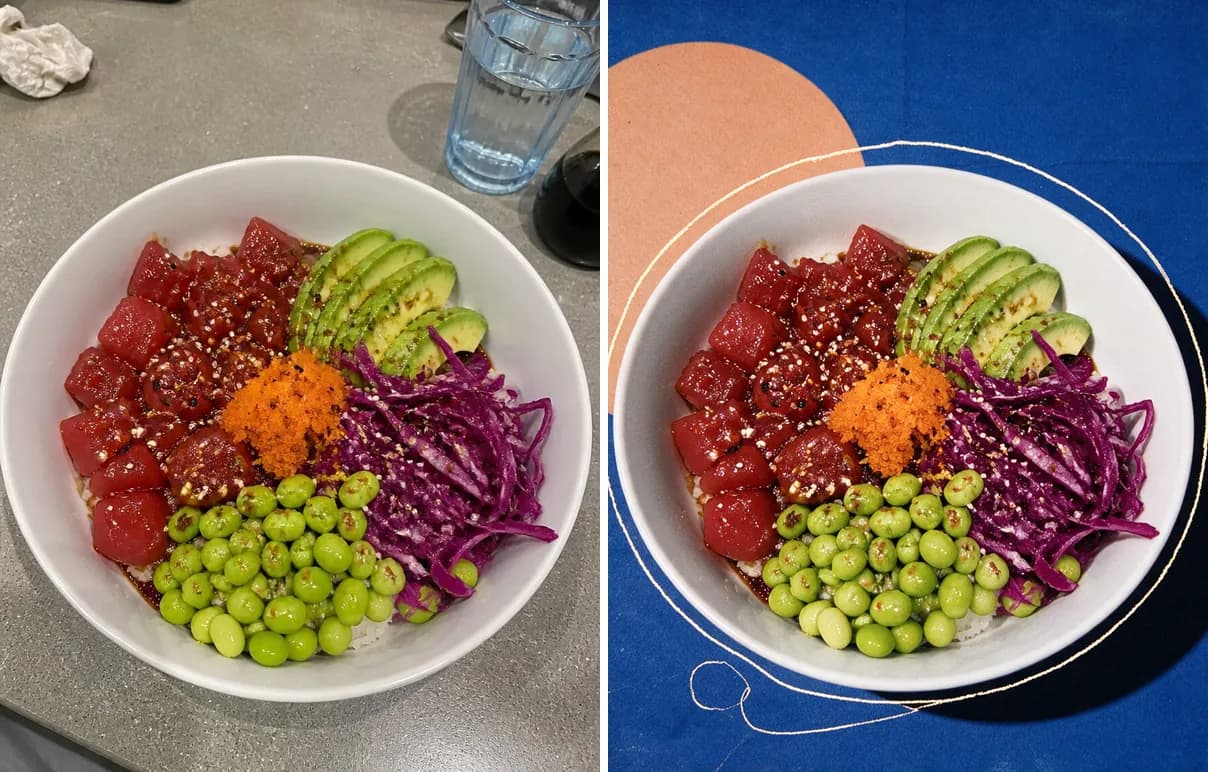
45 degrees (the diner's view)
The camera is tilted roughly halfway between straight down and level with the table, about where a seated guest's eyes are.
Use it for:
- Most entrees: steaks, pasta, chicken, fish
- Plated desserts
- Breakfast plates like eggs benedict or huevos rancheros
- Anything with both a top and a front worth showing
How to shoot it with a phone:
- Sit down at the table and hold the phone where your eyes would be.
- Tap to focus on the front of the main item.
- Try the 2x lens and step back a little. It gives a more natural perspective than 1x at close range.
- Turn the plate until the best side faces the phone: the sear on the protein, the neatest part of the garnish.
Watch out for: too much background. At 45 degrees, the space behind the plate shows up. Clear it, or use a shallower angle so the plate fills more of the frame.
This is the safe default. If you're not sure, start here.
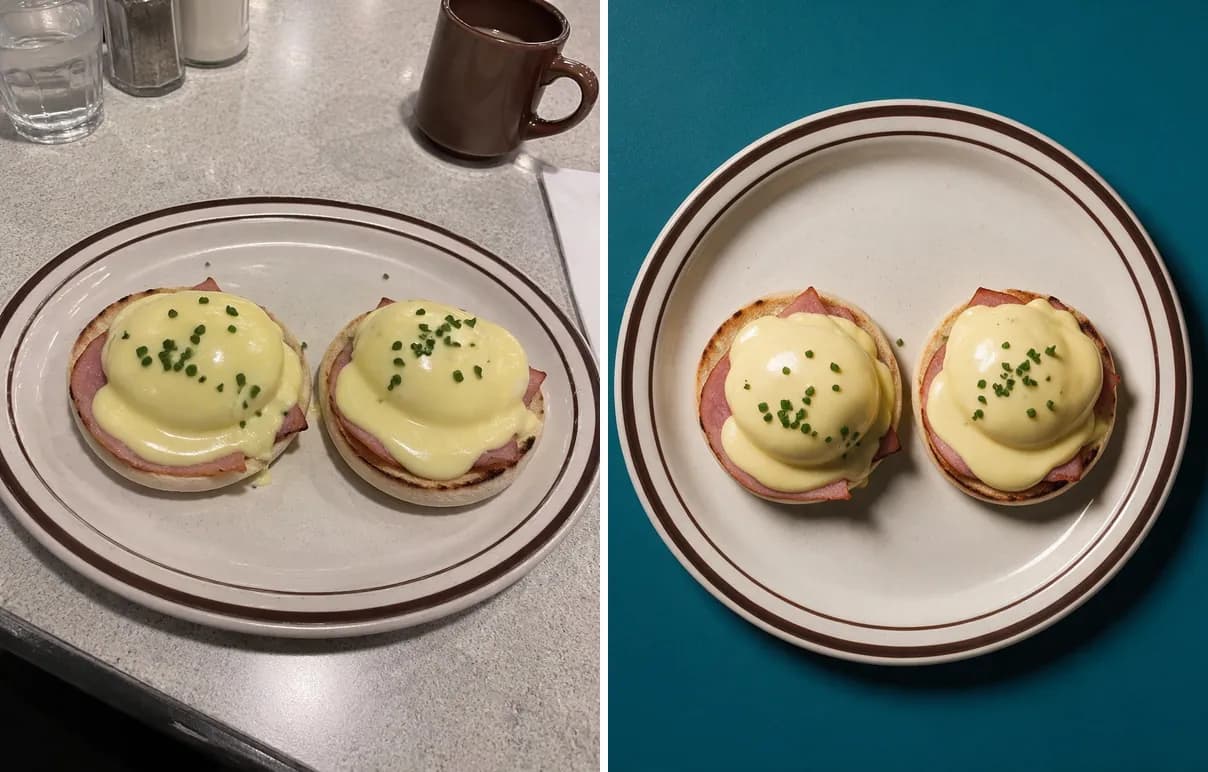
The hero shot (low angle)
The camera is low, close to table height, looking at the dish from the side or slightly above it. It makes the food look tall and substantial.
Use it for:
- Burgers, including smash burgers
- Sandwiches like cheesesteaks and chicken sandwiches
- Stacked pancakes and chicken and waffles
- Milkshakes, sundaes and drinks in glasses
- Tall layer cakes and anything with a drip or a pour
How to shoot it with a phone:
- Lower the phone until it's almost level with the plate. Rest it on the table or a stack of menus to keep it steady.
- Focus on the most interesting layer: the melted cheese, the cross-section, the whipped cream.
- Keep the background simple. At this angle, everything behind the dish is in the frame.
- Shoot a vertical frame too. Low hero shots often suit 4:5 and 9:16 formats for social.
Watch out for: flat food. A pizza shot at table height is a line.
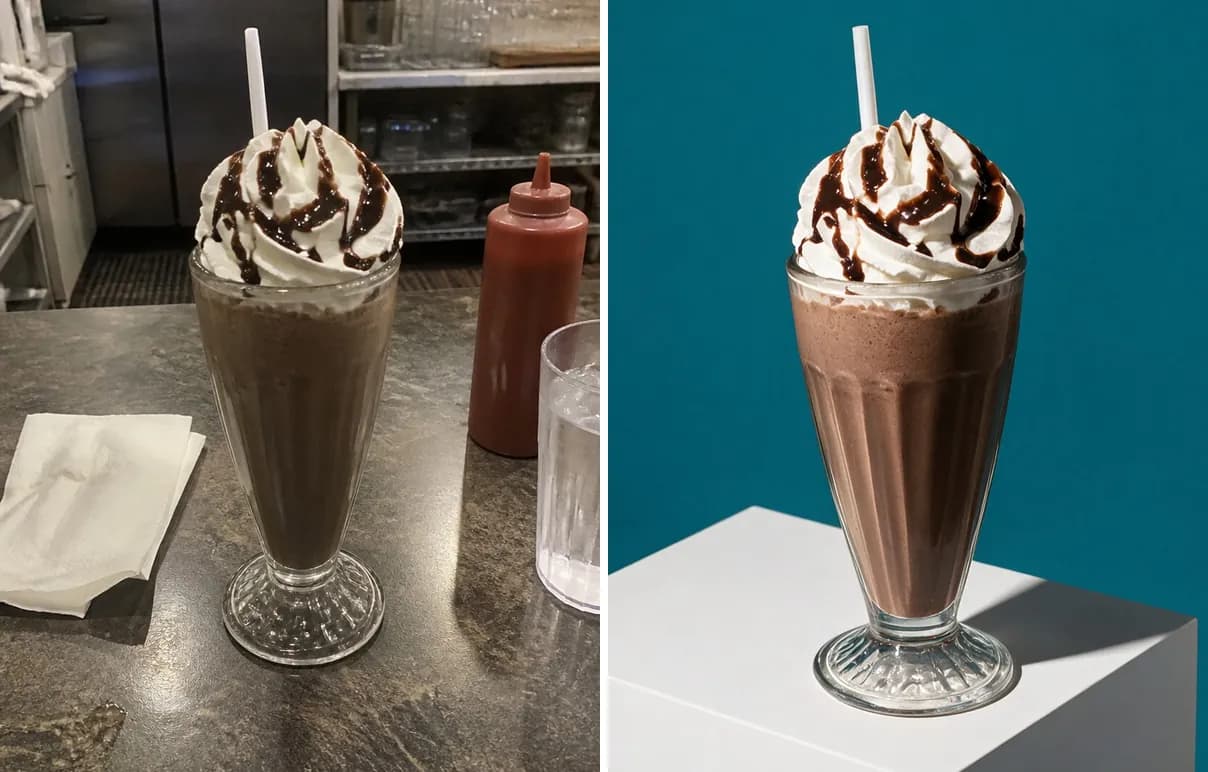
Close-up detail and macro
The camera moves in close on one part of the dish: the pull of melted cheese, the crust of a brisket, the glaze on a cinnamon roll.
Use it for:
- Texture-driven dishes: brisket, fried chicken, lava cake
- Social posts, where a close-up stops the scroll
- A second or third image alongside a full-dish shot
How to shoot it with a phone:
- Move closer, but not so close that the phone can't focus. If it won't focus, step back and crop later.
- Use side light. It's what makes texture visible.
- Hold very still. At close range, tiny movements blur the photo.
Watch out for: menu listings. A close-up alone doesn't tell a guest what the full dish is. Use it as a supporting image, not the main one on a delivery app.
Quick reference: which angle for which dish
| Dish | Best main angle | Good second angle |
|---|---|---|
| Pizza, pepperoni pizza | Overhead | Close-up of a slice pull |
| Burger, smash burger | Low hero | 45 degrees |
| Ramen, pho | Overhead | 45 degrees |
| Steak | 45 degrees | Close-up of the sear or cut |
| Pasta, chicken parm, shrimp scampi | 45 degrees | Overhead |
| Poke bowl, cobb salad | Overhead | 45 degrees |
| Nachos | 45 degrees | Overhead |
| Wings, Korean fried chicken | 45 degrees | Close-up |
| Brisket | 45 degrees | Close-up of the bark |
| Cheesesteak, chicken sandwich, hot dog | Low hero | 45 degrees |
| Pancakes, chicken and waffles | Low hero | 45 degrees |
| Gumbo, chili, jambalaya, french onion soup | 45 degrees | Overhead |
| Milkshake, sundae | Low hero | Close-up |
| Crème brûlée, key lime pie, shortcake | 45 degrees | Close-up |
| Mac and cheese | 45 degrees | Close-up of the cheese pull |
Treat this as a starting point. Your plating, your bowls and your light may point to a different angle, and it's worth trying two.
Using several angles of the same dish
For menus and delivery apps, one strong main image per dish is enough. For social media, several angles of the same dish give you a week of posts from one plate: an overhead shot on Monday, a hero shot on Wednesday, a close-up on Friday.
If you shoot with a phone, take all the angles in one go while the plate is fresh. Start with the angle the dish needs most, since food changes fast, especially anything melted, fried or frozen.
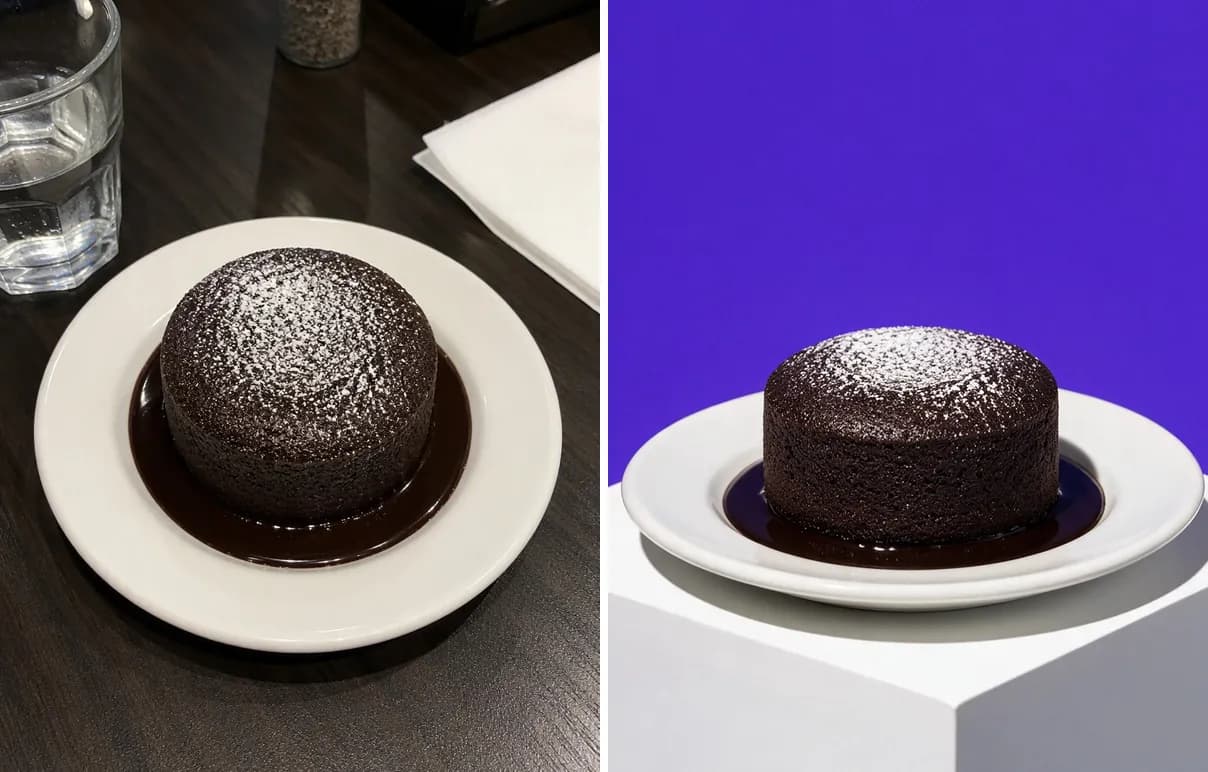
RestoPhoto has a photo session feature built around this idea. One phone photo becomes five images: four shots of the same dish (a hero shot, a top-down view, a top-down detail and a macro) plus a free collage. It uses 4 photos from your quota and takes about 8 to 14 minutes. As with any AI result, the dish stays yours, but AI can change small details and some styles add props around the plate, so compare each image with your original before you publish.
You can also choose "AI picks," where the AI chooses the scene, angle and light, or set composition yourself in Custom settings.
Try it on one of your own dishes. Your first photo is free, no card.
Try RestoPhoto on one of your own dishes
FAQ
What is the best angle for food photography?
For most plated dishes, 45 degrees, since it matches how a seated guest sees the plate. Use overhead for flat food and low angles for tall food.
When should I shoot food from above?
When the dish is flat or the arrangement is the point: pizza, salads, bowls, soups with toppings, and tables with several dishes.
What is a hero shot in food photography?
A low-angle shot, near table height, that makes a dish look tall and substantial. It suits burgers, sandwiches, stacks and drinks.
Which angle is best for delivery app photos?
The dish's best main angle from the table above, framed with room around the plate so it can be cropped to each app's size. Avoid using a close-up as the only image.
Should all my menu photos use the same angle?
Not necessarily the same angle, but the same light and background family. Consistent style matters more than identical angles.
Try RestoPhoto with your own photo
Upload a dish photo and choose a style. Compare the result with the original before publishing.
Try RestoPhoto